Sunday, August 3, 2014

Monday Made It: Alphabet and Number Sensory Bottles!

Happy Monday, y'all! My apologies for waiting a week to post :(  My family has been in town visiting, and Hubby and I have been living that up!

Today I'm linking up with Tara at 4th Grade Frolics for another Monday Made It.


I broke out my new paper cutter I got from Costco last week and it is AMAZING!


I got it for $29.99 and the cheapest I can find online for one that is similar is $41 on Amazon. But, if you have a Costco, go get one of these before they run out!! It has 7 different blade shapes, and even does perforation. It is going to be so handy this year.

On with my projects!


The main project that I completed this week was the beginning of my alphabet and number sensory bottles. I only made 4 this week because I ran out of corn syrup! Lame! I wanted to make 100 more since they were so fun and easy!


I think Gatorade bottles make the best sensory bottles. The mouth of the bottles are big enough to fit in whatever you could ever need. Regular plastic water bottles do not have this pro.


I filled up the Gatorade bottles about 1/3 of the way full with corn syrup.


Then, I added whatever items I wanted in my sensory bottle, and I filled it up the rest of the way with water.


*This is VERY important - Hot glue the lids on after you're satisfied with what your bottle looks like. This will prevent little hands from unscrewing anything. 


Hot Glue Tips
  • You need to be ready to screw the lid on your bottle immediately after you finish spreading the glue on the mouth of the bottle.
  • When you're screwing the lid on, watch out! The glue may splooge on your fingers and it's not a very pleasant surprise!
  • Make sure you screw the lid on ALL THE WAY! It cannot leak!

Last, you want to seal your bottles with duck tape, or some other kind of waterproof tape. Just simply wrap the glued lid with duck tape, cut down the tall sides, and tape down each section evenly. 


I think they turned out super cute! I'll be making (and sharing) more of these once I have more supplies.


I have also been a crazy, printing, laminating woman! I just wanted to share some freebies and things that I have purchased from Teachers Pay Teachers to freshen up my room this year. I have waaaaaay more to go, but this was a good start!

I am using Cara Carroll's schedule cards this year and I am in. love. with. their. cuteness. They're a FREEBIE in her store!
I printed them in color onto card stock, laminated them, and hot glued a magnet to the back. 


I bought these rainbow chevron numbers for my room this year, and I love them! They show the number in numeral form, word form, and in a ten frame.


I started making games with my dollar store finds. I haven't cut them out of the laminate yet, but I am loving how these are turning out. (Those are my new calendar numbers down below.)


Whew!! I have had a busy week, and now I really need to get busy in my classroom!

What did you make this week??

cheers!
Kelley


Monday, July 28, 2014

Monday Made It: Pointer Sticks and Decal Letters!

Happy Monday! Today I am linking up with Fourth Grade Frolics for another Monday Made It. I had big plans for this week, but I only got through a couple of projects. I have had a crazy busy week (including whitewater rafting for the first time!!), and I am preparing for my family to arrive to visit us tomorrow for about two weeks. I'm excited they will be here!! Anyway, on with the craftiness!


My first (completed) project this week is a fabulous collection of animal pointer sticks that cost me next to nothing to make!! I was inspired by Greg @ Smedley's Smorgasbord of Kindergarten's Monday Made It from last week, and decided I needed to do this too! I have a few pointers already, but this just kicked it up a notch. They turned out SO CUTE!


All you need are wooden cutouts from any craft store, hot glue or another strong adhesive, and dowel rods. My wooden cutouts (.39 each) and dowel rods (.99 for a pack of 6) are from Joann's. (Plus 15% off for educators, people!)


Simply glue your dowel rod to the back of your wooden cutout and there you have it! I made sure to fill in all the cracks around my dowel rod to make sure they were as durable as possible for all that kinder love!


How cute are these, seriously?!?! You can store them in a milk crate like I have shown here, or just in a bucket as demonstrated below. I think these will be great not only for pointers, but also to incorporate into writing and dramatic play. I know they're going to just love these!


I have seen my next project on Pinterest many times and I finally decided to do it. It ended up being super easy, with the only downside being the time I had to wait between steps to let the letters dry.

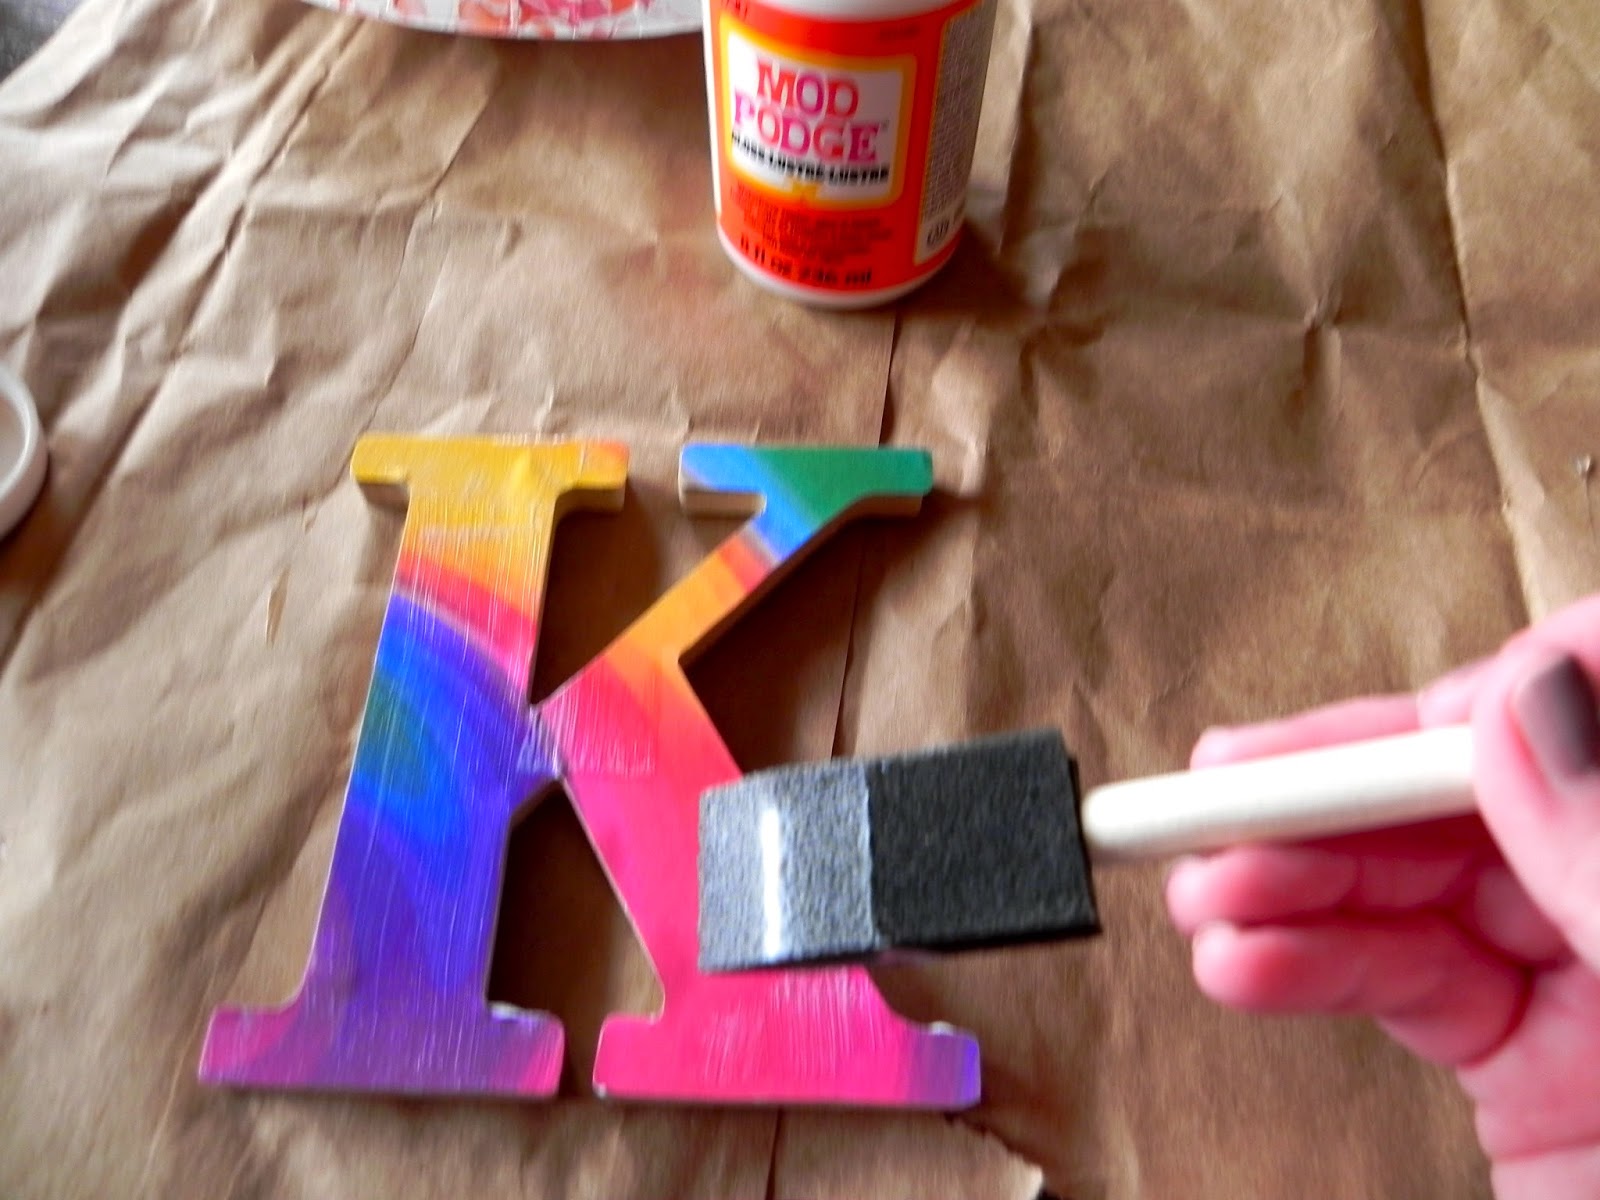
All you need are some kind of wooden or sturdy cardboard letters, scrapbook paper of your choosing, Mod Podge (I used glossy), ribbon, a pencil, scissors/exacto knife, and hot glue.


Start by flipping your scrapbook paper over to the non-printed side, and lay your letters down to trace. Trace them with your pencil, and cut them out with scissors or an exacto knife.


Next, cover your wooden letter with Mod Podge and lay your paper cut-out letter on top. It should adhere instantly. Be careful to line up your actual letter and your paper letter very precisely! Don't worry about if some hangs over. You can use the exacto knife to trim the edges down if you wish when you're finished.


After you've adhered your paper on top, seal it in with two coats of Mod Podge on top of the letter. I like to let one coat of Mod Podge dry before putting on the second.


Once your letters are dry, it's time to put the ribbon on so that you can hang your letters. If you don't want to hang them, skip this step! Just put a little hot glue on the back of your letters and press the ribbon on the back.


Here is my finished project! Obviously I'm not going to hang these with Broncos clips as shown, but hey - you gotta improvise when you're at home! I picked a K and a D to hang outside of my classroom door. At my school, our classrooms are named by your grade level (K) and the first initial of your last name (D). I used to be 4D and now I'm KD, which also happens to be my initials :)  Am I meant to teach kinder or what?? I will show y'all where their permanent home will be once I get in there and start movin' and shakin'!

What did you make for Monday Made It?? Link your project in the comments below!

Please follow my blog journey! I have LOTS and LOTS of great things to share in the coming weeks!! (I'm now on Bloglovin'!)


cheers!
Kelley